Manual Installation of SQL 2017 Express
During the initial installation of the ShipWorks software, the installation wizard will attempt to install Microsoft SQL for you. SQL is the database that ShipWorks uses to store all of your ShipWorks data such as order information, shipment information, and so on. In rare cases, the installation of Microsoft SQL may not be successful.
If the installation fails to install the SQL Server database, you can install SQL Server 2017 Express manually.
This article will guide you though how to manually install Microsoft SQL and then how to continue with the installation of the ShipWorks software.
-
Windows Firewall Users: If you are running a program that uses Windows Firewall, please disable it or configure the Windows Firewall to allow SQL access.
-
SQL Server 2017 Express can only be installed on 64-bit systems. It does not support 32-bit systems.
-
SQL Server 2017 Express can be installed on Windows 8 operating system or later.
-
For full system and installation requirements, please visit this page.
1. Download the SQL Server 2017 Express installer from the Microsoft page. The installer will automatically begin to download. (The installer file is approximately 280 megabytes and may take a few moments to download.)
2. Follow the steps in your web browser to open the installation file. If prompted, allow the application to run.
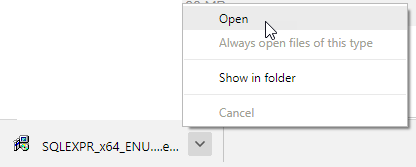
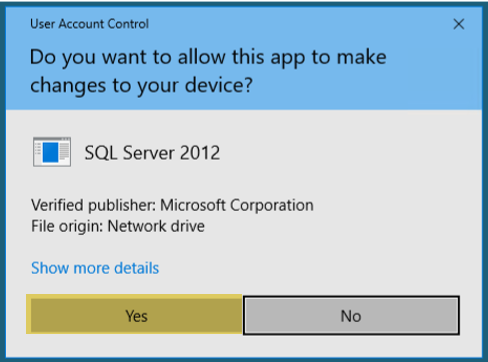
3. Click OK to the Choose Directory for Extracted Files prompt.
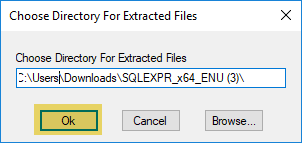
The installation files will be extracted.

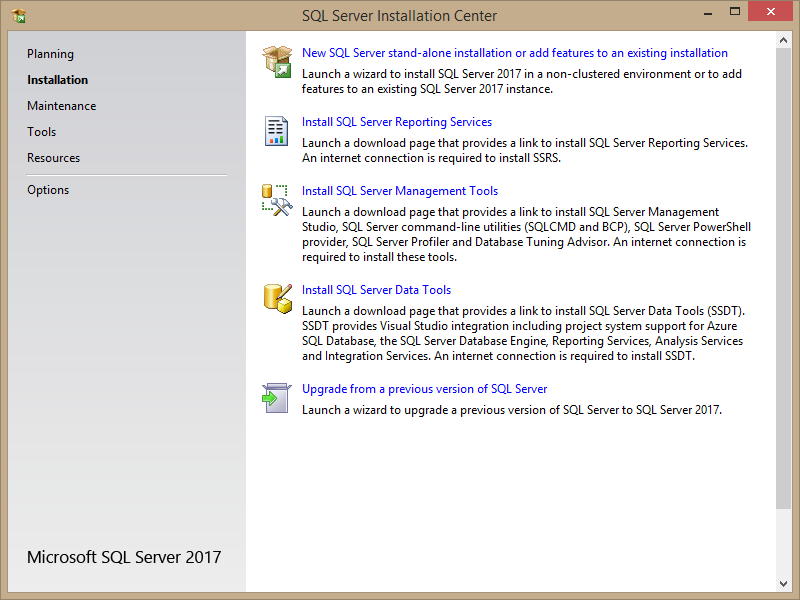
4. Click the top link, New SQL Server stand-alone installation or add features to an existing installation, on the SQL Server Installation Center screen.
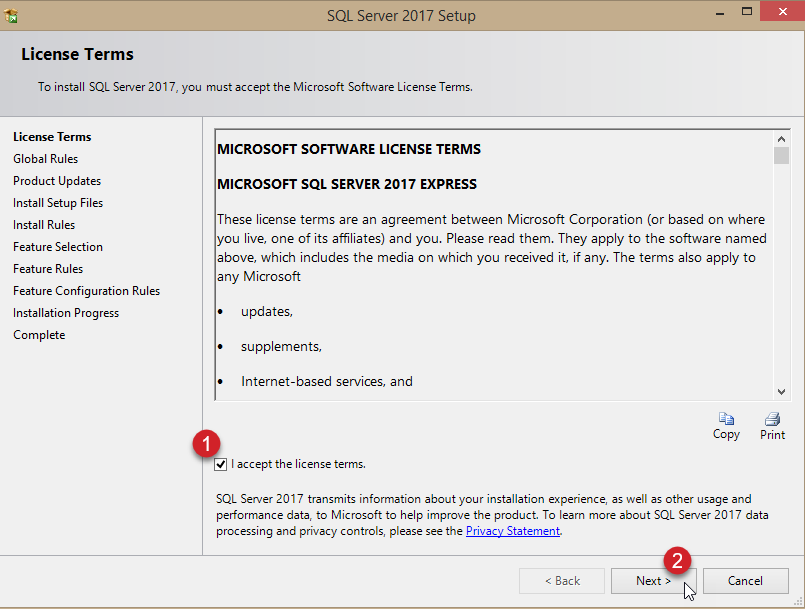
5. Check the box I accept the license terms. Then, click Next.
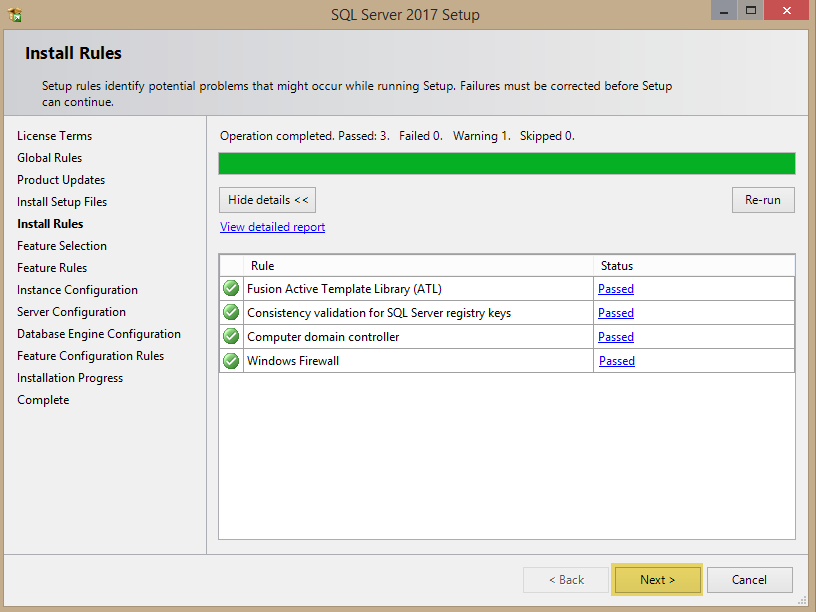
6. Click Next once the SQL Installer has completed the Install Rules and checks.
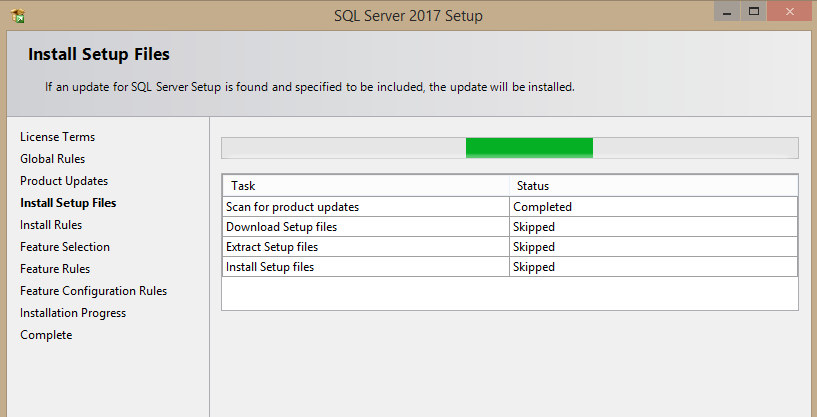
The SQL installer will check for product updates and automatically download any additional files needed.
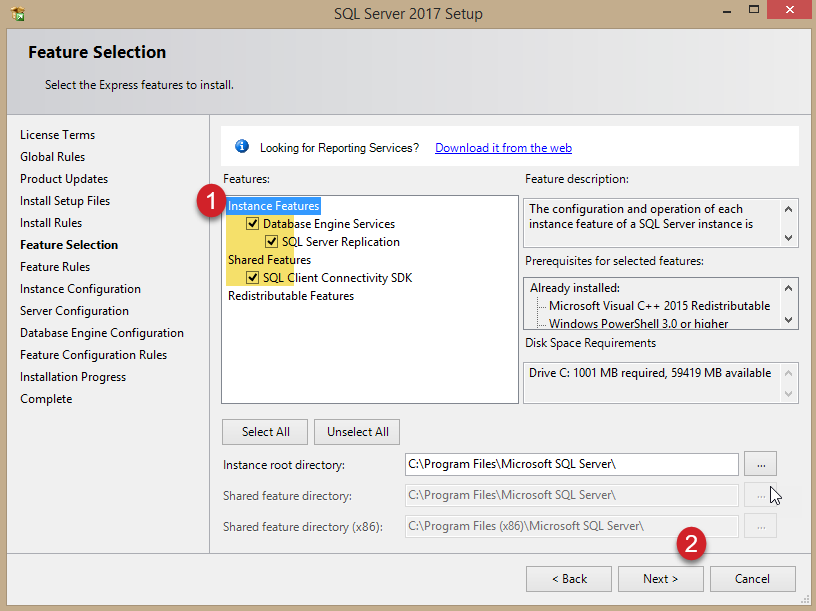
7. Verify that the Instance Features and Shared Features check-boxes are checked, then click Next.
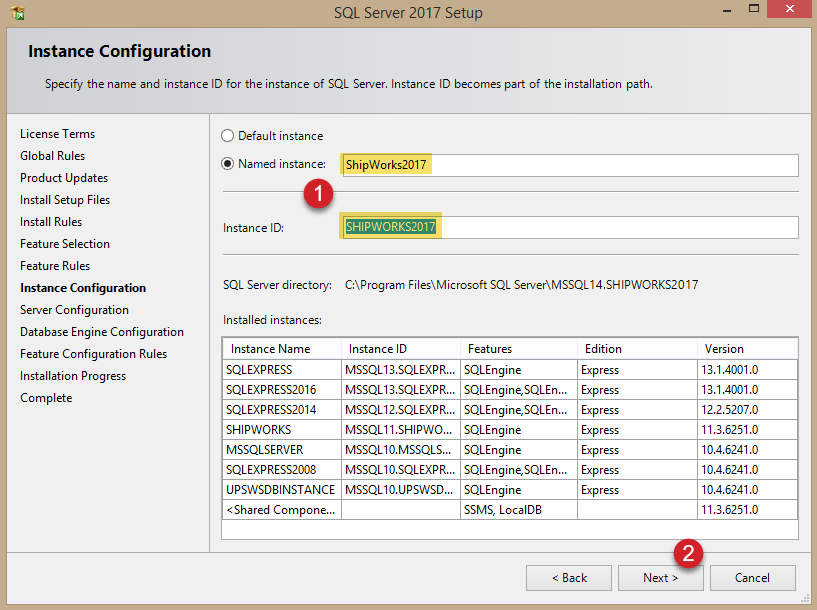
8. Verify that Named Instance: is selected. Then name the Named Instance and the Instance ID ShipWorks2017. Click Next.
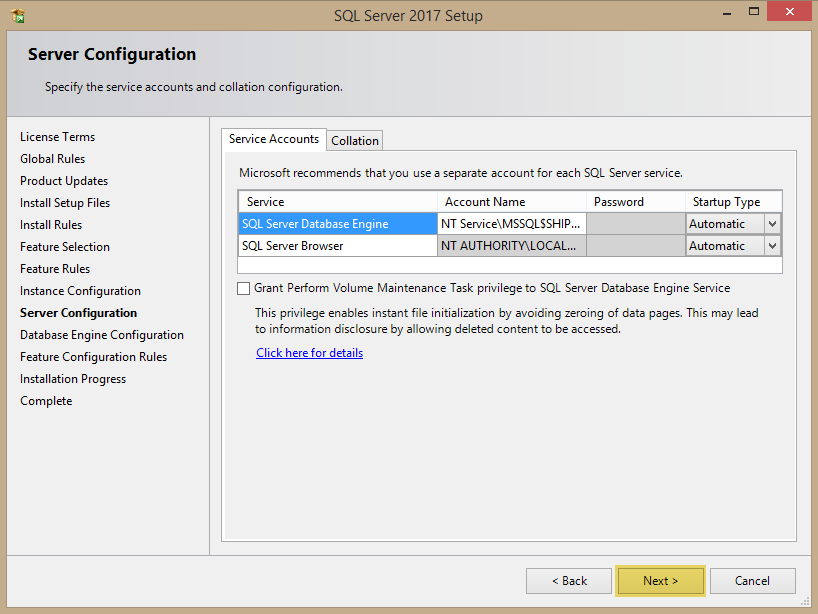
9. Leave the default settings on the Server Configuration screen and click Next.
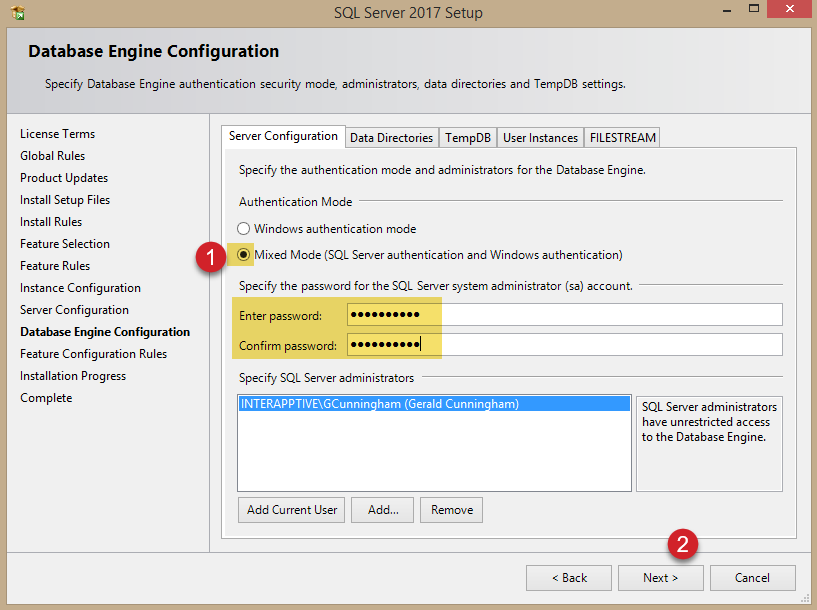
10. Select the option for Mixed Mode (SQL Server authentication and Windows authentication). Enter a password for your database instance into the Enter Password: and the Confirm Password: fields. Please, write down your password and keep it somewhere important--you will need it to connect with ShipWorks. Then, click Next.
You might wish to use the password ShipW@rks1. This is the default password ShipWorks uses when installing SQL Server 2017.
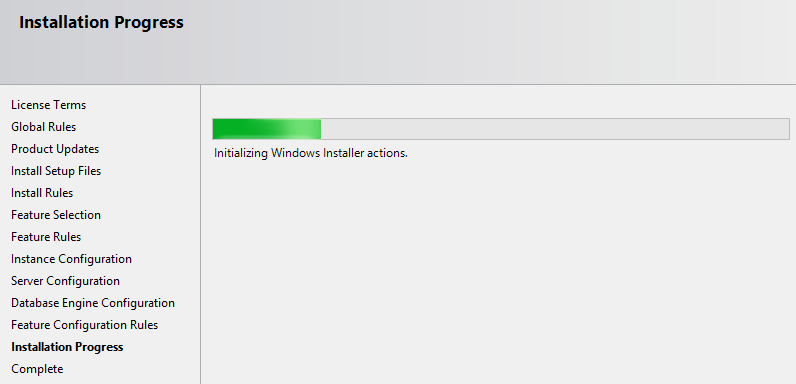
SQL Server 2017 will now be installed.
11. If you are notified that a computer restart is required, click OK.

12. Click Close on the Completion screen.
SQL Server 2017 is now installed.
Now that you have SQL Server 2017 installed, you are ready to add a new ShipWorks database. This article will guide you through how to add a ShipWorks database to the SQL Server instance that you just installed.
Still Need Help?
Please feel free to reach out to one of our awesome Technical Support Representatives in St. Louis. We are happy to help.
Have a comment to share about this article? We'd love to hear from you. You must be logged in to your Support Portal account to leave a comment.
Comments
0 comments